Monday, March 19, 2012

How to shabby emboss charms

I made this layout for My2Angels, the place to get charms. (If the sky wasn't so grey I could get a better photo of this, but for now this will have to do)
Charms look quite cute just the way they are, but sometimes it's nice to alter them a little.Here I want to show you how to shabby emboss your charms.
First, I heated a camera charm with a heat gun (use tweezers!) and sprinkled embossing powder over it. It looked like this:
Quite nice, but I wanted a different colour. So I heated it again and sprinkled pink embossing powder on top:
I liked that effect, but now I had overdone it a bit and all the detail of the charm had disappeared. So I scratched some of the embossing powder off again:
 
 And heated it once more to set. After it was cool, I used a watermark pen to add some copper embossing powder to the lens, so it would stand out a little. And there you have it, a shabby little charm:
It's fun to experiment a little.
The yellow rosette is made with this super useful rosette die.
Here are some closies:
For the background I inked a Crafter's Workshop template with Distress ink and printed with it, but it was a little hard to see. So I repeated it, but this time with Glimmer Mist and got this effect. Nice.
A cute little dolphin charm and some resin flowers, definitely one of my favourites: 
If you want to stitch and have no embroidery floss left, you can use a single strand of the mega-versatile baker's twine. Tracy thinks I use it as dental floss, I go through this stuff so quickly...


Tuesday, March 6, 2012

My little fish

My Hannah has always been my fish. No matter how cold the water, she'll be in it. 


Just a quick sweet little page for my sweet little fish.


Thursday, February 23, 2012

waterfall album page

Here's a class I've done before with a flip-out waterfall album, which has been very popular:


You can fit a whole bunch of smaller photos in the small album. Pull on the tab and it all opens up.


Friday, February 17, 2012

Life is an adventure


We are making cogs in class. How cool are they! Really shiny and multi-coloured. 


Throw in some buttons and some crackle paint and there it is, a cool boy's layout!

Tuesday, February 7, 2012

Love you - Valentine's Day layout

Just in time for Valentine's Day next week here comes my new class project. It's got a hidden spot for love letters! 

Open sesame...
...creak!...
Hannah wrote me this sweet little note on a tissue that I want to keep.  You can have love letters, ticket stubs, invites, etc. Whatever you want to hide in here.

Last weekend I had my big birthday party (let's just say a big round number was involved) 


All my wonderful class ladies put their money together and bought me a Cricut machine. I am so over the moon. 


I have played with it a little bit already and put it to good use with the little flags:


Hope you all have a lovely week!

Thursday, February 2, 2012

Having fun with leftovers

 I can't throw out scraps! Normally I try and keep only pieces that are at least as big as a photo but if we're talking about my favourites (ATM that's October Afternoon and Simple Stories), I can't part with even the small bits. I'm trying to use them up and made some leftovers pages and cards. One of them I can't show because Scrapbook Creations is going to publish it. Yeah!!!
But wait, there's more: 


This will be our class layout next week:


And you'll get to make this cute little felt thingy:


Did you see the glass capochon in the flower center? Follow the link to see how to make them!

And now a couple of cards with some My2Angels beauties:


Remember the ribbon rosettes?  I had one left from the tutorial a while back. Here's one with some high heels charms, resin flowerskeleton leaves and stamens:


Find my tutorial here!

And how easy is it to make a simple paper flower look great with just a large rhinestone and some leaf charms:


None of these project were made with more than 1/4 of a piece of paper at the most. So now there really isn't much of an excuse to have so many scraps anymore. Hmmm, does anyone have a few hours to donate to my day?

Tuesday, January 24, 2012

3 little monkeys sitting in a tree

On my birthday the kids and I went to the park for a picnic and some tree climbing. It was very, very hot, but we still had fun.    


This is the project we'll be doing in class next week.


Good-buy old jeans, hello groovy embellishments:


Come along if you want to have a chat and do some scrapping.


My Masters entries

Scrapbooking Memories has a masters competition every year and this year I submitted for the first time. My scrapping buddies talked me into it and I'm glad they did. I didn't get masters, but I got picked for the creative team, which is awesome too. Anyway, the special masters edition is out, so now I can share my entries that didn't make it in, but I still love them: 
This one is my layout with a 5x7" photo:


This one is the colour challenge (aqua, orange, charcoal) double layout:


It opens like this:


And my sketch challenge:


Based on this sketch:


The hidden journalling layout got published, so you'll have to see it for yourself in the mag, but here is just a little glimpse of the wishing well with the pull-up bucket that has the journalling in it:


Thursday, January 19, 2012

How to make rolled paper roses

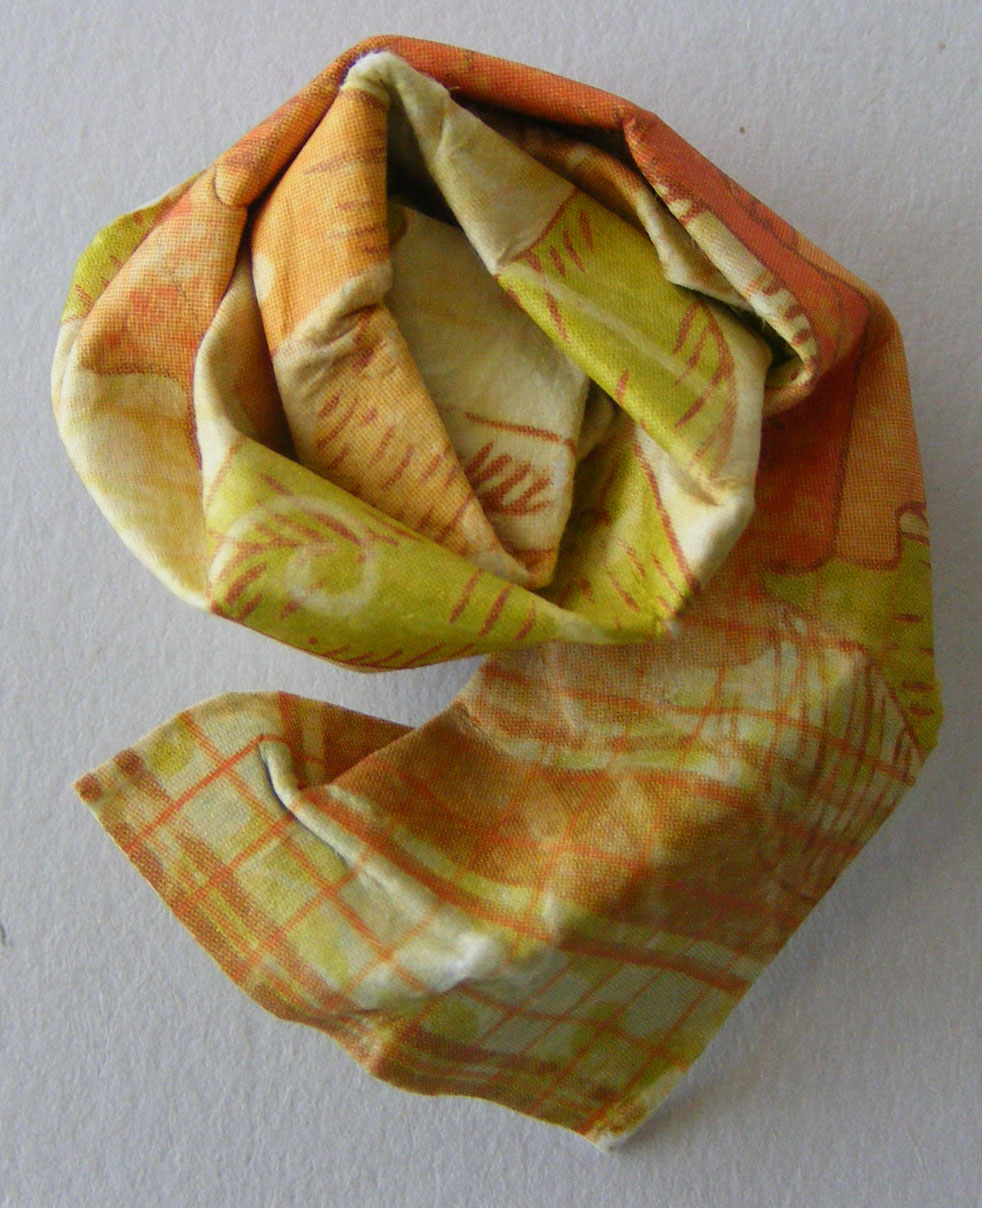
Here is a quick and easy way to make very pretty rolled paper roses. You only need a small strip of paper for each rose and that makes it a perfect way to use up little cut-offs from your project that match perfectly.


First, cut a strip that is 1x6" long and a circle. Don't waste time cutting out a perfect circle, wonky will be just fine.


Wet the paper strip and fold it in half, but don't crease it too hard.


Start rolling with the folded edge on top.


Keep rolling and twist and pinch the paper a little as you go. 


Totally random.


Here is the entire strip rolled up. Hmmm, not very rose-like yet...


Put some quick drying glue on the paper circle. I like Helmar glue the best, but PVA glue will be fine too. 


Press the rolled flower on the glue...


...and tuck the end under.


Trim off any circle bits sticking out (I told you it didn't need to be a perfect circle).


Once the paper is dry, add some pearls or rhinestones or whatever takes your fancy. Done!


You can experiment with different sizes of paper. The longer the paper, the bigger the rose, of course.

And here is one I have prepared earlier! I used lots of My2Angels goodies.


...a cream felt heart on top of a pink one, a hat pin and a birthday pin.  


The large white flower is embossed and inked with a Cuttlebug folder :


Thanks for looking!