Tuesday, May 8, 2012

White with nothing! Can you scrap without colours and patterns?

What do you think? Could you scrap without any colours and patterned paper? I wasn't sure I could, but I wanted to give it a go. You can too if you come to my class next week!


Since there is only white I needed lots of different textures and materials to keep it interesting. There is paper pleating, punching, die cutting, felt flowers, clear embossing, flocking, crackle painting and a foam title. Add some roses and Perfect Pearls, brads and stamen and that's it.


By the way: I have discovered that white comes in many different shades! And they don't always look good together. This was a fun project for sure.

Make it your own

It's really easy to make a class layout your own, with just a few tweaks and changes. This one is based on the hugs and kisses class. 


The obvious change of course is the colour scheme. I love the fresh green and aqua together and it goes so well with the springtime photo of my nephew and niece. 
In this layout I replaced the fussy cutting (told you I wasn't fussed on it) and used up the leftover flowers from another project...


...skipped the glitter butterflies and just punched some instead... 


... and glittered up a laser cut word instead. 


So, you can see, it's really easy to give it your own look!

Wednesday, May 2, 2012

Smile for the camera

Here is a version of the Bicheno layout that I did during class. As you can see, it's quite easy to flip on its head, make it girly, boyish, whatever you want. Thought I'd share.


I used the last scraps of Authentique paper (the rest is on Hugs and Kisses) and some pretty my2angels embellies on it. 
The sweet little camera charm is one of my favourites. It goes with so many looks. I put a little bit of Liquid Pearls in the middle to give it some contrast. 


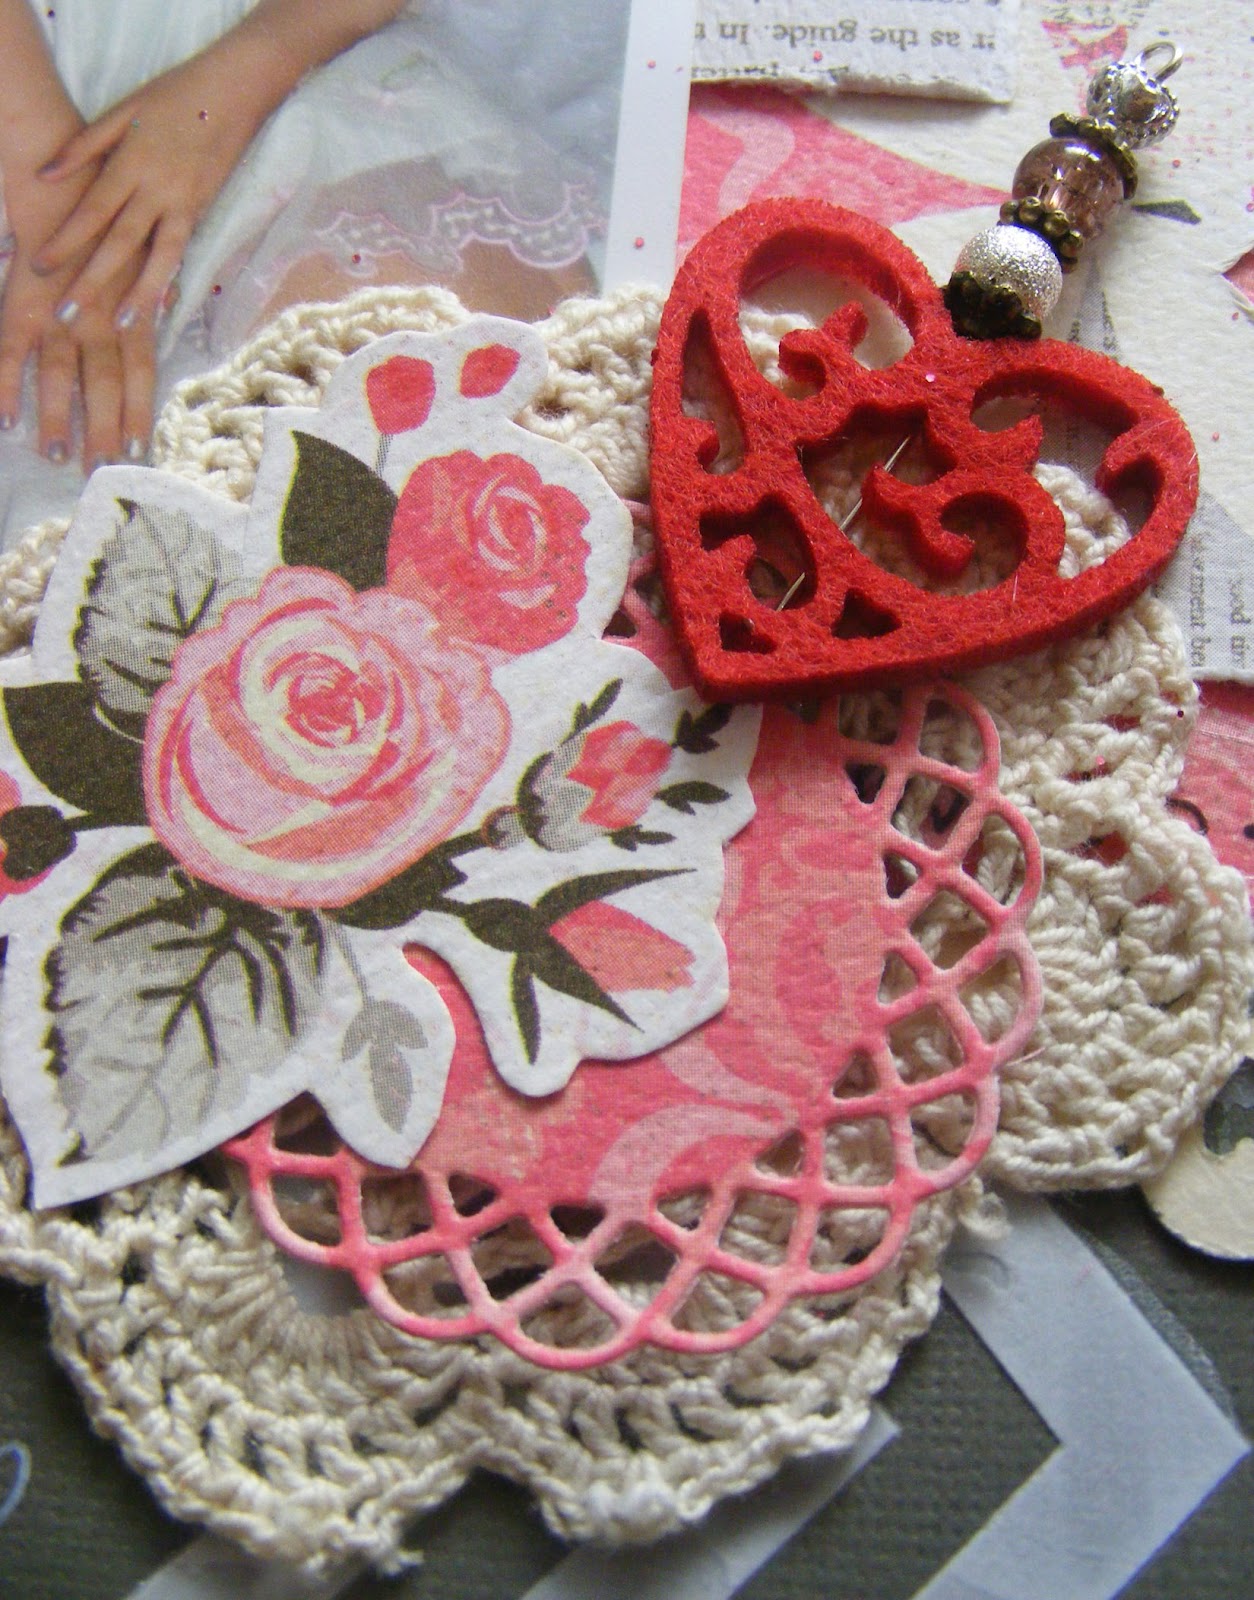
The red felt heart  (comes in several colours) with a charming pin, an old cotton doily and a die cut doily:


I love it when the girls put on impromptu fashion shows. All their idea, I swear!


Tuesday, May 1, 2012

Joel at twelve

Ah, those teenage boys are hard to scrap! So I've got to get some good ones in before he turns 13 in September! Plus, I owe him since that pink layout from "Flower girls". So here's a good one for older boys and we'll be doing that next week if you wanna come along.


 I used a sketch from the October Afternoon blog (my favourite brand).
There's a bit of a starburst (me, playing with my new die):


The same die was used for the border on the right. Way too cute and ok for boys, too.
I made a banner with (you guessed it) another new die:


and a bit of crackling to make it look "tough". Joel approved, I hope you do too.
Cheers, Geli 


Tuesday, April 24, 2012

Hugs & kisses

This is what we'll be doing in class next week! A bit girly and frilly for a change, haven't done that in a while. We're making everything from scratch, except for the flower cluster. (Everyone is bringing a design to cut out for that.) If you're into fuzzy cutting, here is your chance! Fuzzy cutting is the one thing I don't do (often).


Well, I won't tell you how I made the butterflies, you'll just have to come to class for that. But aren't they gorgeous?


If you are a first timer at my class you can get the first class free this month! Contact me for what to bring.

 And that's my third blog post today, I'm on a roll! Please do leave a comment, they make me happy.

Bicheno

Of all the wonderful places we saw in Tasmania, this one was our favourite: the sleepy little town of Bicheno on the East Coast. The LO sketch was scraplifted from Wendy Smith, she's a very talented scrapper. We're doing this project in class this week...


...and you'll get to play with my new little bike. It's a stamp set with matching dies. Totally easy and they look great on acetate.


As a bonus, we get messy with texture paste. 


Cheers!


Flower girls

For a long time my girls have wanted to be flower girls and finally their wish came true. 


My2angels has the perfect range of romantic embellishments to go with the photo from the wedding. I didn't want to have too many embellies on this page, because Joel already complained about being on a pink page, so I made a small cluster. 
There is a love pin, a couple of cabochon flowersleaf charms and...


...my favourite, a notepad charm:


it even opens up! Imagine putting a little pull-out booklet in there.


Wednesday, April 4, 2012

Simple and cheap ribbon storage

A few people have asked for a cheap way to store ribbon. I do have a bit of an obsession with ribbon and store them all in one small drawer. It all cost me about $10 to set up. Here is how I do it.
You will need small ziplock bags ($2.00 for 100 from a cheap shop) and large jump rings ($2.00 for 5, also from a cheap shop or a little dearer but colourful from Kaisercraft)
Each ribbon gets its own bag and I spent a couple of TV nights doing all of mine. If you roll it onto 3 fingers, it fits into the bag perfectly. Punch a hole in the top of the bag...


... and thread it on a large jumpring. I organise mine into colours, obviously.


I divided a drawer into 5 long sections by glueing cardstock dividers in and it fits 2- 4 sets of ribbon in each section. And that's it. 


Not only does it fit (most of) my vast ribbon collection, I can also simply pull out the colour I want and grab the right ribbon without anything getting messy. If only I could shut my drawer... Only kidding, I usually go on a ribbon-buying fast when it gets hard to close.

PS: Bree just suggested punching the hole in the bottom of the bag instead so that you can unzip it and take the ribbon out without taking the bag off the ring. Genius! (now you tell me)

Monday, April 2, 2012

Birthday pages with Prima's Meadow Lark

OMG, I'm going purple! Not a colour I usually use much of, but it all started with my Christmas gift, a pair of funky purple pants. And I wore them on my birthday party, which gave Tracy from my2angels the idea to let me play with the new Prima range, "Meadow Lark".
Have you ever noticed that there are 200 photos of each of your childrens' parties and none of your own? That's what happened to me. I had an awesome wine and cheese tasting party with over 40 friends, most of whom are scrappers and only a handful of unfocused photo to prove it. But it needs to be scrapped, so fuzzy or not, here are my photos:


I used the Labelle paper for a background and the new charming word embelly in a cluster of gardenia, chipboard leaves and a calico rosette:


When a paper range has cute barcode strips, they are fun to use as flags:


 Here you have the white stemmed flowers all glimmer misted:


This little set of white mulberry flowers and butterflies is so versatile! So easy to colour with paint, glimmer mist or inks:


And guess what my lovely class ladies gave me for my birthday: a Cricut machine! (To use in class, to be sure) I couldn't believe my eyes!
For this page I used Chloe and Bronte paper with a little masking thrown in.


Here is how you can make a cute felt banner: Draw a few flags on a piece of calico, stick some felt ribbon on the other side...


 and cut out the flags before inking them:


Arrange them as bunting with a rhinestone strip:


The bird needed some feathers and I cut apart 3 small white mulberry flowers and inked the edges:


And lastly there is a deer! Don't ask me why, it just matched in colour. 


Psst! If ever you need to change the colour on a number 40 charm, cover it with Liquid Pearls.


A bit of baker's twine for a frame and now I think I've got the colour purple out of my system until the next decade. I hope you liked it.


Saturday, March 31, 2012

Finishing touches with My2Angels

I made this layout for my parent's yearly album. It needed something else, but what? My2Angels is the perfect place for finishing touches.


First I took a rhinestone buckle and used a pin to hold it down, since the ribbon was already glued on. 


Then I started digging for some charms. I found the wingskey and the hatpin. The heart got a red coat with Perfect Pearls, but I knocked it over by accident and it landed on the paint side (of course!). I kind of liked the effect, so I left it. In your face, Murphy! 


I trimmed down the hatpin and attached the key...


...and glued it into the buckle. 


Check out this set of white mulberry flowers and butterflies. They are really good value because you can change their colour so easily. I simply inked the petal tips...


... and then put some rhinestones from a leftover piece of a rhinestone square on them.  


Add a cabochon flower and some stamen and you have the perfect mini cluster to balance the rhinestone buckle and charms. 


And here is the finished layout: 


Geli

Tuesday, March 20, 2012

Hobart ducks

And here is the class version of my last post! As you can see, with just a few small changes, different colours and photos it looks quite different.


If you are interested in coming next week, this is what we'll do. It's excellent for leftover papers.