Tuesday, January 24, 2012

3 little monkeys sitting in a tree

On my birthday the kids and I went to the park for a picnic and some tree climbing. It was very, very hot, but we still had fun.    


This is the project we'll be doing in class next week.


Good-buy old jeans, hello groovy embellishments:


Come along if you want to have a chat and do some scrapping.


My Masters entries

Scrapbooking Memories has a masters competition every year and this year I submitted for the first time. My scrapping buddies talked me into it and I'm glad they did. I didn't get masters, but I got picked for the creative team, which is awesome too. Anyway, the special masters edition is out, so now I can share my entries that didn't make it in, but I still love them: 
This one is my layout with a 5x7" photo:


This one is the colour challenge (aqua, orange, charcoal) double layout:


It opens like this:


And my sketch challenge:


Based on this sketch:


The hidden journalling layout got published, so you'll have to see it for yourself in the mag, but here is just a little glimpse of the wishing well with the pull-up bucket that has the journalling in it:


Thursday, January 19, 2012

How to make rolled paper roses

Here is a quick and easy way to make very pretty rolled paper roses. You only need a small strip of paper for each rose and that makes it a perfect way to use up little cut-offs from your project that match perfectly.


First, cut a strip that is 1x6" long and a circle. Don't waste time cutting out a perfect circle, wonky will be just fine.


Wet the paper strip and fold it in half, but don't crease it too hard.


Start rolling with the folded edge on top.


Keep rolling and twist and pinch the paper a little as you go. 


Totally random.


Here is the entire strip rolled up. Hmmm, not very rose-like yet...


Put some quick drying glue on the paper circle. I like Helmar glue the best, but PVA glue will be fine too. 


Press the rolled flower on the glue...


...and tuck the end under.


Trim off any circle bits sticking out (I told you it didn't need to be a perfect circle).


Once the paper is dry, add some pearls or rhinestones or whatever takes your fancy. Done!


You can experiment with different sizes of paper. The longer the paper, the bigger the rose, of course.

And here is one I have prepared earlier! I used lots of My2Angels goodies.


...a cream felt heart on top of a pink one, a hat pin and a birthday pin.  


The large white flower is embossed and inked with a Cuttlebug folder :


Thanks for looking!


Tuesday, January 17, 2012

quick and simple pages

I have been missing in action on my blog. Well, what can I say - it's summer holidays and we have been swimming a lot in the Queensland heat! Mojo was in short supply, the kids are at home with me and so all I did have time for were a few quick and simple pages, which we are or have been doing in class this January.
This one is based on a sketch by Julie Winks from the Scrapboxx:


Here is the original sketch:


I do love working with sketches and Julie's are always so unusual. 

A few days ago I was browsing through some blogs and came upon the scrapbooking trends of 2011. I was curious to see if we had covered them all in class and there was only 1 we hadn't done: chevrons. Really?! Apparently it took the scrapbooking world by storm last year... Anyway, storm or not, I had a bit of fun with chevrons, so I could tick it off the top 10 list:


I wasted about 3 papers trying to get the sizes just right, but once you get it they are really quite easy. I added some simple embellies:


...and had a play with my new flower-making punch:


And then here is my last quick and easy page:


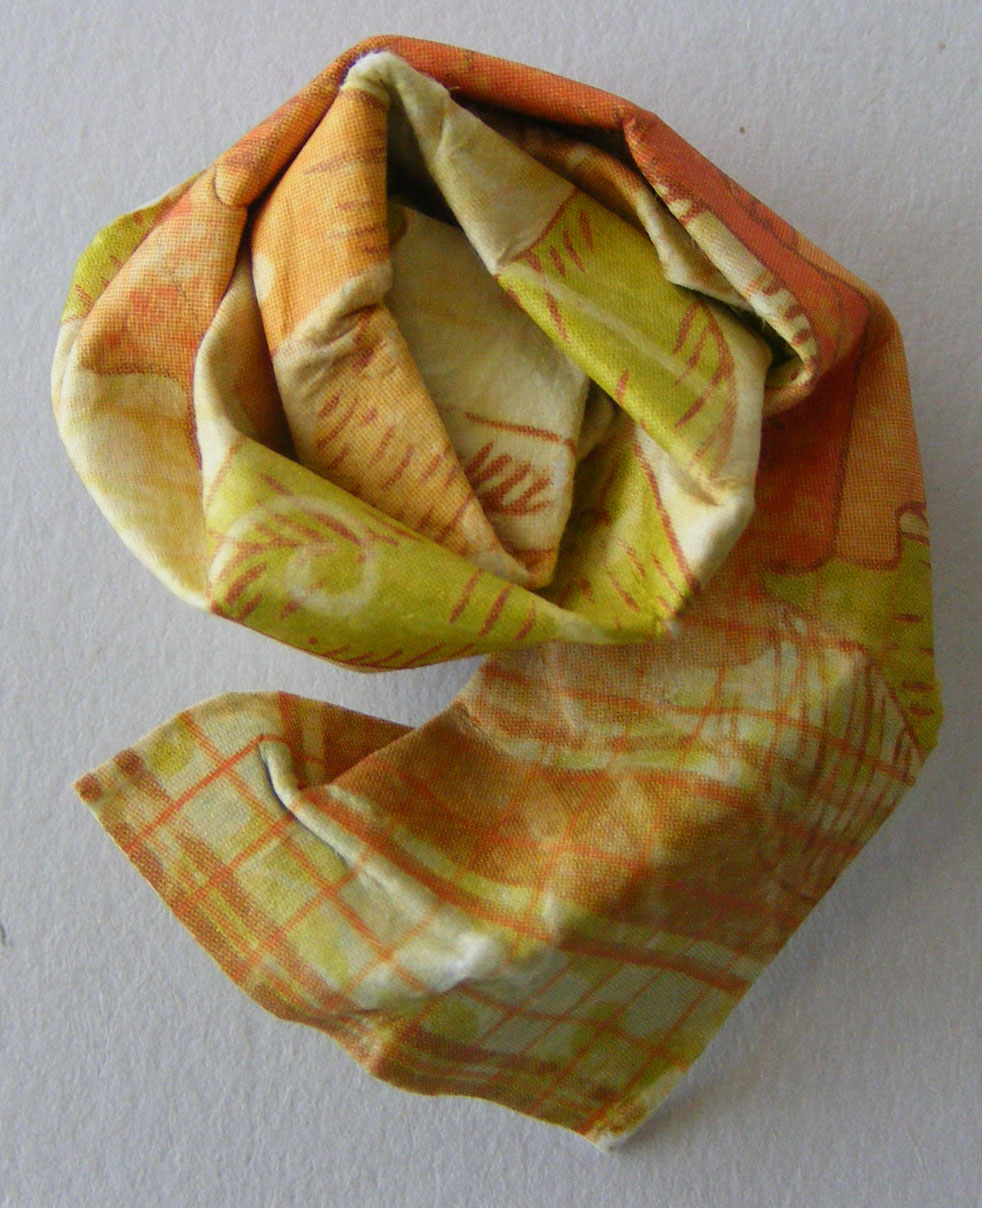
I found a how-to in Creating Keepsakes for these cool little yo-yos. What a great way to use up heaps of scraps.


Anyway, now that school is almost back on I will be checking the mailbox for my returning mojo. It's gotta be coming back now any day...