In the late nineties I spent 3 years doing volunteer work in
Russia. All my friends from that time are literally scattered across the globe
now, over 5 different continents, but I still keep in contact with a lot of
them. I recently heard that my friend Heidi lost all her Russian photos and
since it was her birthday I decided to make her an album with some of the
highlights. We shared a lot of adventures during our time there. Not all the
photos are the greatest (or in focus), but isn’t that what most people’s photo
boxes are full of? If they tell the story, use them! I am scanning all my
negatives but some of them have deteriorated badly in the last 15 years. I just
wish I had done it earlier.
and her wonderful and unique
embellishments.
Over the next 10 weeks I will share with you the pages I do, as
well as step by step instructions on how to create them yourself. I will do
many multi-photo pages and journaling where possible. Flip out things and
hidden stuff! It’s there for you to scrap lift, but I would appreciate if you
leave me a comment and a link with what you create. Almost everything I use you
can get at the my2angels shop. Click on the links to find the supplies I used,
but feel free to change what you want.
My measurements are in inches because that’s what my cutter
comes with. If you need cm just convert it. The sizes don’t have to be exact
most of the time.
So here is my first page. Since it’s a title page it only
has one 5x7” photo. And that one is out of focus, but it’s the best one I have.
I wanted to use both front and back of this paper. Cut out an
8 ½” circle from the top right area of the page using either a circle cutter or
craft knife. Also cut a ring, 9” diameter on the outside and 8” on the inside.
Flip the circle over and use sticky tape to hold it in
place. As seen from the back:
Ink around the inside of the ring and the edge of the
background. Glue the ring in place.
Ric rac is awesome to outline a circle, because it’s easy to
follow the curve. But the yellow ric rac was a little too bright, so I painted
gesso over it to tone it down a little.
Glue it on the outside edge of the ring.
Cut a 5x7” mat, ink it and glue it behind a 5x7” photo at an
angle. Glue it on top of the ring like this:
No, we didn’t arrive by hot air balloon, but I used the
sticker anyway because it’s cute, together with a couple of word tiles. They
are going to be part of my title.
Use a hole punch to make a hole in the middle of the flower
sticker and push 5 sets of stamen through (folded in half). Sticky tape them in
place behind. They add a bit of dimension to an otherwise flat sticker.
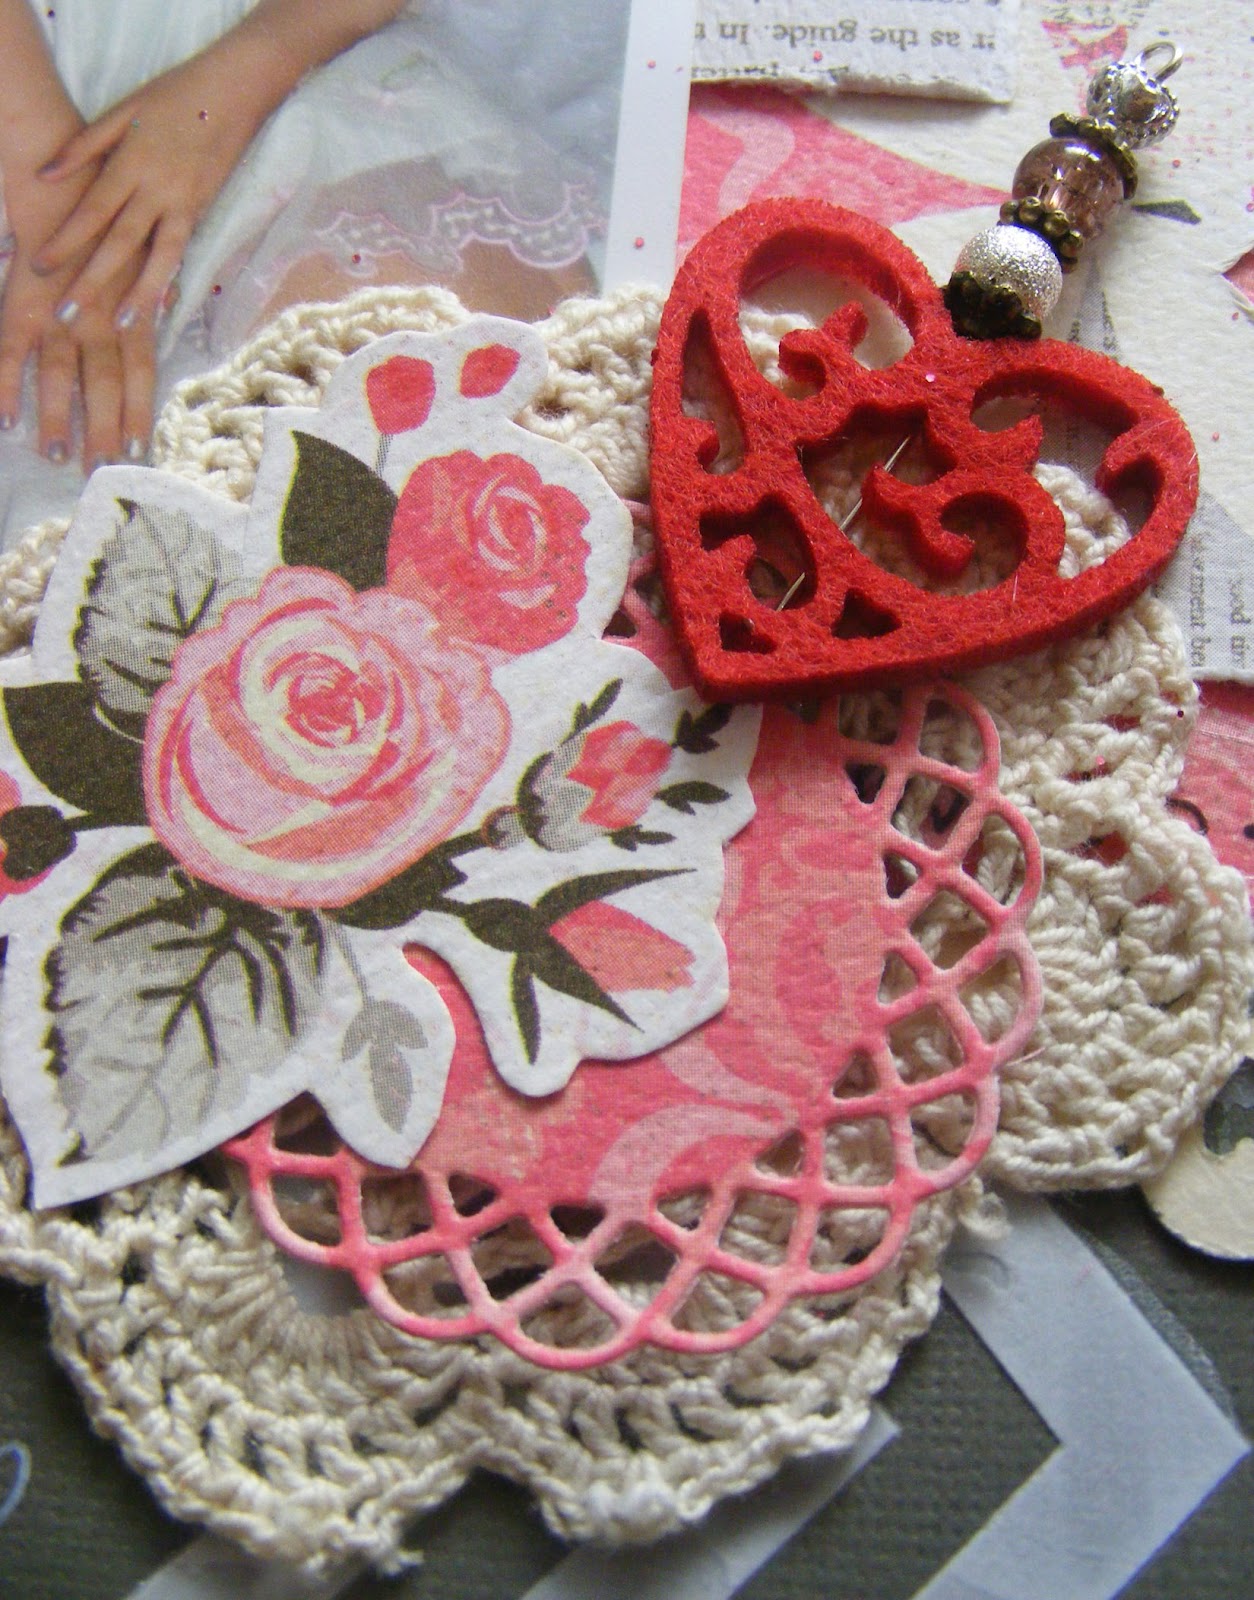
Die cut a doily (or use a paper one) and cut out 2 petals from a large flower. Ink around both before you glue them down and add the flower sticker.
The Charming word tile is in soft antique gold (very nice),
but I’m going to add a few silver charms later on and I need them to match. So
I used an emery board to gently sand down the title and the outline of the
flower to turn them silver. It also helps the word to stand out better. Glue it
under the photo.
The brown stemmed flowers looked a little dull here with all
the bright colours. They clearly needed some glitz, so I rubbed a little Shimmerz
over them. Spraying them in glimmer mist or glimmer glaze would have worked too.
...and cover them in red micro beads. Careful, they’re very
jumpy! Pour them over the flower inside an ice-cream container (eat the
ice-cream first).
Glue it down and add a few more small dots of Glossy Accents
and micro beads under the balloon. Add one of the stemmed flower (the spare
stamen go under the balloon’s basket) and a red felt star.
Add 2 more stars (we are on Red Square, after all) and the
other 3 stemmed flowers on the other side, together with a passport charm and a
title. All your embellishments should roughly follow the curve of the circle.
Glue an airplane charm above the balloon (no, we didn’t
arrive by plane either!), finish off the title with letter squares and we’re
done! Do a little journaling inside the ring.
I hope you can find some inspiration for all the wonderful my2angels embellies here!