Welcome to my 2nd page for the album project.
If you have missed the step-by -step instructions for the title page, you can find it here.
If I see a sunflower field, I immediately think of Russia. I had these gorgeous photos of us in a large field taken in 97.
So here is my sunflower page, which you are welcome to copy. You can use other colours of course, they don't have to be sunflowers. Follow the links to find the products I used.
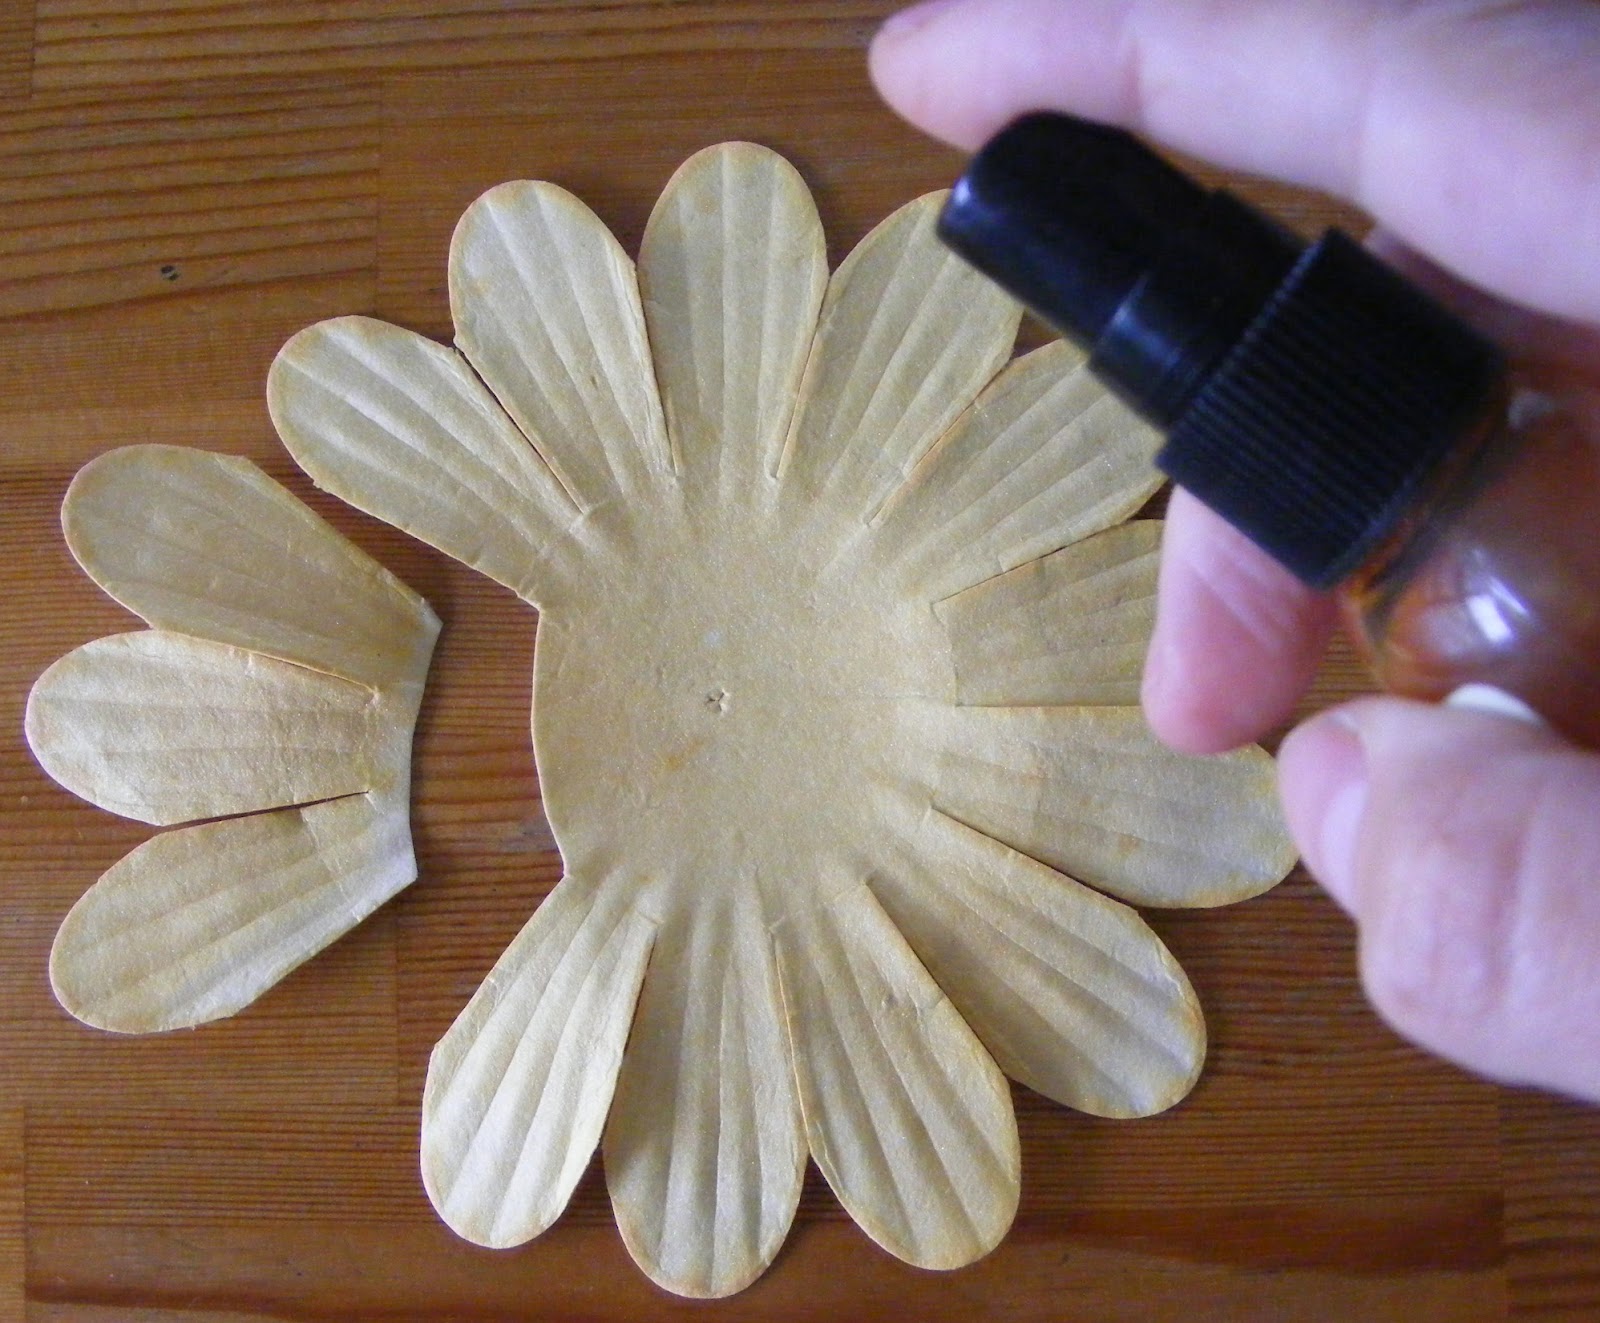
I am basing most of my album pages on a white background. First of all, it creates a little continuity despite the many colours and it stretches my Echo Park kit so much further. To avoid the background feeling empty, create some glimmer mist splashes like this: Unscrew the nozzle and shake it all over the cardstock. It's random and fun.
These flowers are white and huge, perfect for misting. The best part is that they are very strong and won't tear or loose their shape when they get sprayed.
(I cut off 3 of the petals, because I had planned to use them as leaves on the page, but that didn't happen, so I will keep them for later.)
Punch 4 small holes in each petal and sew a little cross with baker's twine on each one.
Choose a patterned paper and cut off 4 1/2". Gently fold it in half (don't crease it) and draw a curvy line on the back. Cut it out so it looks something like this:
Distress the curved edge and glue these things onto your background: the curvy paper, the main photo with the flower tucked under and over and a round photo (3 1/4" diameter) added to the middle of the flower:
Paint a thin outline around the round photo with liquid glue and glue some twine around it:
(Yup, that's me and Greg when we were young & beautiful)
***
Do you have any Martha Steward deep edge punches? They are (obviously) great for edges, but you can make pretty flowers and lace strips with them too. The principal is the same with any punch you have, but looks best with the wider designs. I will demonstrate on a short strip of paper, you will need a 12" length.
First, measure from the edge (where the edge of the paper sits when punching) to the end of the design. In my case, 1 1/4". Double that and cut your paper strip to the width. 2 1/2" in my case.
Line up the paper with the end of the punch, like this:
Punch the whole strip, as if it were a border. Then turn the strip over and start at the other end of the punch:
Punch the whole length of the strip and you will end up with a strip of flowers:
Easy. Try some other designs, they all look fab.
***
I don't have brown microbeads, so I let them dry and painted them brown. Now glue a paper flower under each punched flower to fill out the design and attach the strip to the background with the microbeaded brads:
Use a fence sticker from the kit, too.
As you can see, having heaps of white flowers and leaves comes in handy because you can mist or ink them in the shade you need.
For any of the embellishments I used, pop over to my2angels, the friendliest stop for embellishments I know!
***
Cheers!


.JPG)