
Happy Easter!

Near where I come from in Saxony (South-East Germany) live the Sorbs (not to be confused with the Serbs), an ethnic minority that has been living in the area of Lusatia since the 6th century. They have their own language and traditions, among them the art of making the most wonderful Easter eggs. You can read more about the Sorbs here.
While my family is not Sorbian, we have been making those Easter eggs in our family for a long, long time and now I am doing it with my own children on the other side of the world, in Australia. The technique is a simple batik one that children can enjoy as long as you can trust them around an open flame. With supervision, naturally.
You don't need any fancy equipment. The hardest thing to find in Australia is white eggs. Light brown eggs work too, but it looks best if you can manage to start with a white egg.
This was me and my 3 kids on Good Friday. Step right in. Excuse the messy kitchen...
Step 1:
An empty egg. Make a hole, blow the egg out...


 ...Scrub it gently and dry it.
Cleaning it is important or the colours won't stick.
Step 2:
Melt some beeswax in an oil lamp. Real beeswax is by far the best and you can get it from a beekeeper. If that's not possible then get a good quality candle and melt that. Cheap stuff won't work. 

Here are the tools you'll need:


A cork with a pin in it (a glass pin is preferable) and some chicken or goose feathers. Cut the tip of the feather into simply shapes, like triangles and diamonds. Mine get used again and again, so they're looking a bit scruffy.
Step 3:
Once the beeswax is totally melted, dip the pin into the wax, let it heat up and use it straight away to paint on the egg. You can make spots and lines, perfect for flowers. Joel made some Japanese words. Not really the traditional design, but still fun.
Everything you paint now will stay white in the end.


Step 4:
Make some dye.

I have some real Easter egg dye, but if you don't have that, improvise with a few drops of food dye in a cup of water. Whatever you use, it's important that you add a table spoon of vinegar to fixate the colours. And the water has to be cool by the time you dye the egg or the wax will melt.

I like to use a spoon and a bamboo skewer in the hole to hold the egg under water. Let all the air bubbles come out and it will stay under. The longer the eggs stays in, the deeper the colour gets. Not rocket science, really.
Here is how I made a multi-coloured egg:
Dip the feather into the wax and press it against the egg.

You can make lines with the pin like this:

Everything you've just painted will stay white.The finished egg will look best if there is plenty of white, so got to town.
Now dye your egg yellow.

Paint some more designs on the yellow. Those will be yellow in the end. Now dye it orange.
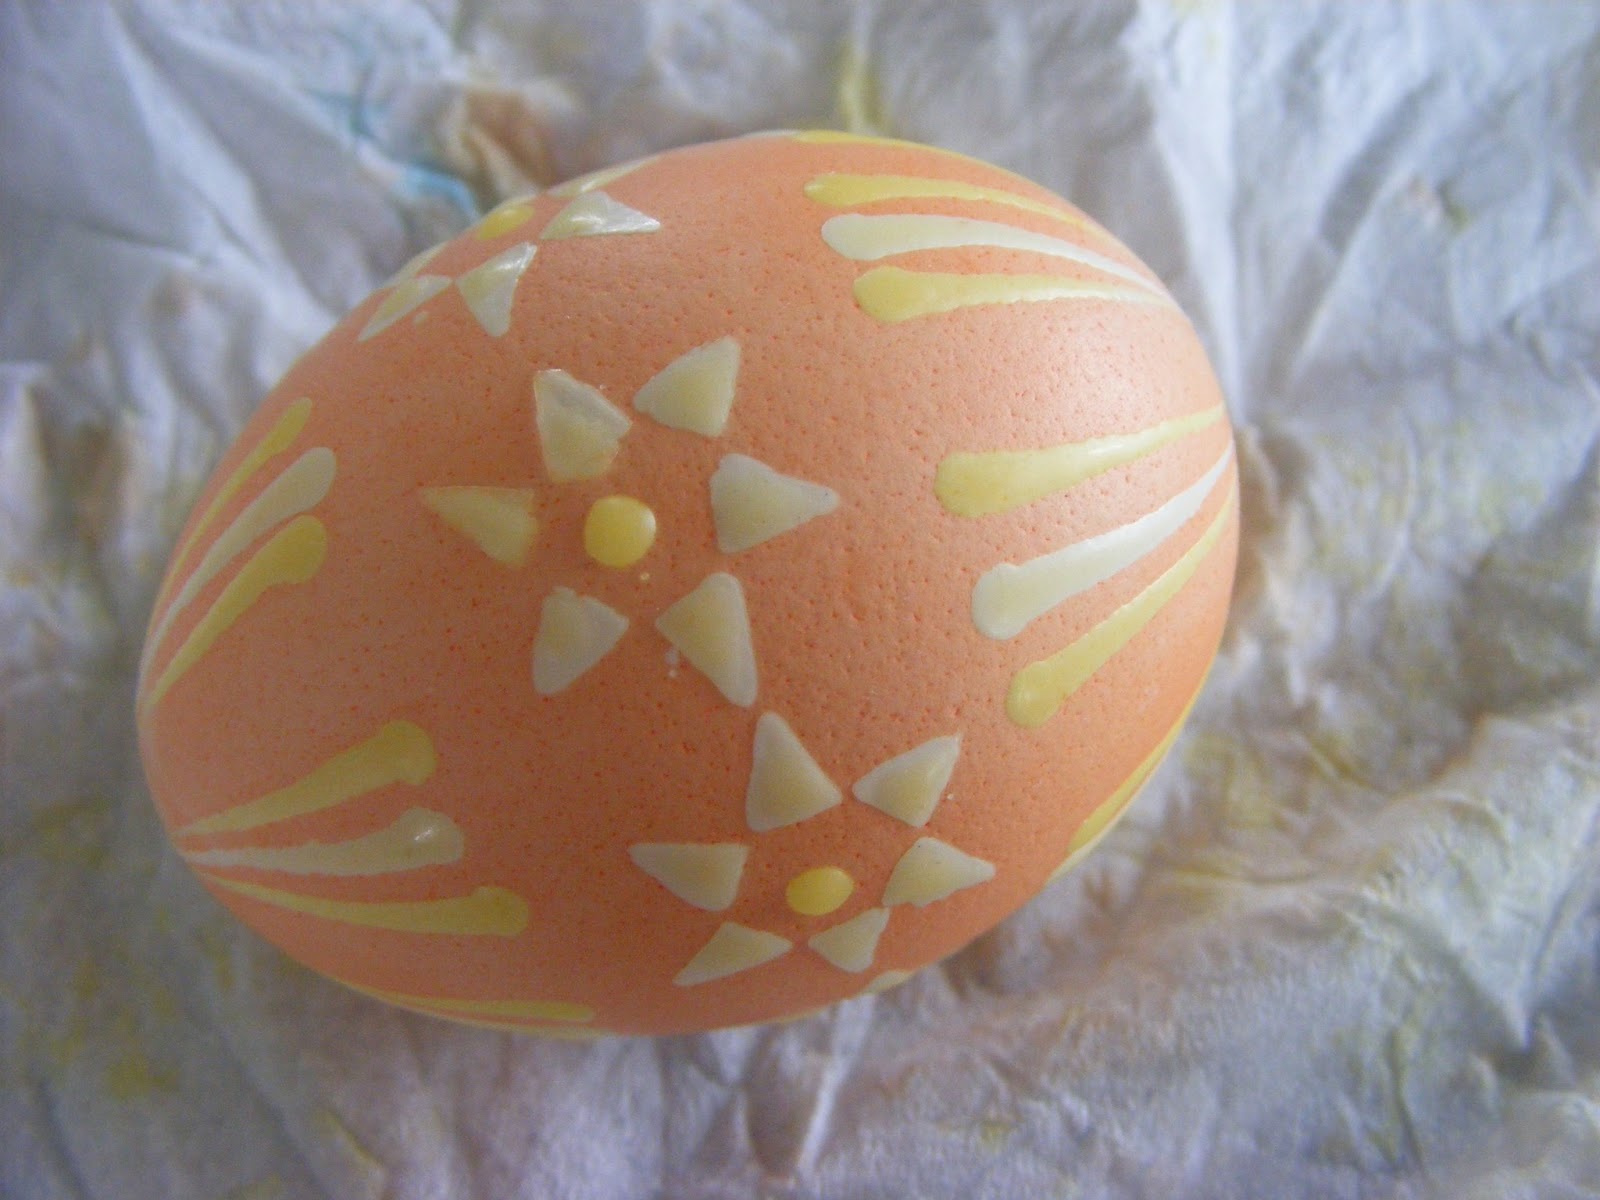
Now paint on the orange. You get the idea. Keep adding as many colours as you'd like, but always paint something first.

Next I dyed my egg red and then dark pink. You always go from lightest colour to darkest, not the other way around.

And how do you get the wax off?
Step 5:
Hold the finished and dried egg close to a flame and let the wax melt, then wipe it off with a tissue.


Wipe it all over the egg as you go, This gives the egg a nice shine and will protect the dye from fading. You can even hang those eggs outside.
The colours will really shine now and the first layer turns out white.

Now it looks nice and beautiful.
Step 6:
Cut a match or toothpick in half, tie on some thread and feed it into the hole of the egg:


Now you can hang it up. Done!

And here is our Easter bouquet:

.JPG)
.JPG)
.JPG)

.JPG)


.JPG)


.JPG)