Saturday, April 12, 2014

Bling it on!

I would like to share a tutorial how to make some pretty things to wear using rhinestone chains from my2angels.

Jazzy 20ies headband


Things you will need:

♥ cotton lace 
♥ pink velvet ribbon 
(other colours available: deep pink, light blue, black, all on sale!)
♥ silver rhinestone chain 
(also looks great in gold)
(look for other shapes here)
♥ a plastic headband 
♥ a fluffy feather
♥ heat gun
(click on the links to find all the materials I used)


Mark the point on the headband where you want your buckle to sit with a permanent marker. Mine is off centre, where Leah parts her hair.
Glue the lace on the headband up to this point and glue the velvet ribbon on top. 

 Thread on the buckle and glue the rest of the ribbons down. 

 Glue the rhinestone chain on either side of the buckle and glue the ends to the end of the headband. Leave it hanging lose. It is best to try this on before you cut.
 

 Neaten the ends of the headband by glueing a piece of lace around them.

 Embellish the buckle with a feather and a charm. 

Enjoy!

Rhinestone Bangle

You'll have some rhinestone chain left, so it's time to make a matching bangle!


Things you will need:

♥ silver rhinestone chain 
(also looks great in gold)
♥ a plain bangle
(find them super cheap at second hand stores)
♥ satin ribbon 3mm wide
♥ heat gun


 Cut a long piece of satin ribbon, about as long as your outstretched arms. Put some hot glue on the inside of the bangle and wind the ribbon around the bangle. Because the glue will cool very quickly on the metal, you can only do 1cm at the time. Be patient!

 Go all the way around the bangle and keep any remaining ribbon hanging. 
I went for perfection, but failed miserably. I decided it doesn't matter, it will get covered.

 Glue on the rhinestone chain with a small hot glue dot under each rhinestone. Don't worry about the glue strings, we'll get rid of them later.

 Wind the remaining ribbon around the rhinestone chain, always between each rhinestone. Again, work in short sections and use just a little glue on the inside of the bangle. If you run out of ribbon, attach a new piece with hot glue.

 Now come back the other way, giving you a nice criss-cross pattern. 

If you still have stringy glue bits, you can melt them away by pointing the heat gun at them for a few seconds.
 Neaten the end with a little bow. 

Wear it with pride!

I must have taken too long, the pink princess dress was off by then and we're back to comfy shorts and T-shirts...

Cheers, Geli


Thursday, April 10, 2014

Making a background with chalks

Chalks make such a pretty, soft background, perfect for baby photos! 
Introducing: my gorgous little niece, Madison: 


We are making this page in class next week and you can pick your own chalk colours to match your papers and photo (it doesn't have to be a baby photo)


Tuesday, April 1, 2014

Dreamcatcher layout


These photos are a little on the old side, back when it was a rare treat to get a photo of my sleeping son (he rarely slept on his own). It was perfect for the dreamcatcher I wanted to make and you can do this layout with me in class next week. 


  A crochet doily makes the perfect centre for the dreamcatcher (don't worry, I won't force you to crochet your own)


 The heart is a great stash buster project for all those small leftovers you can't throw away. 


It was inspired by a layout by Melinda Spinks on The Scrap Farm (a lovely blog, check it out)

Wednesday, March 26, 2014

World travellers

Have you been anywhere interesting lately? Here is the perfect chance to scrap it!


The globe idea was inpsired by a layout by Raquel Louise and the "precious stones" technique by Gabrielle Pollacco.


Tuesday, March 18, 2014

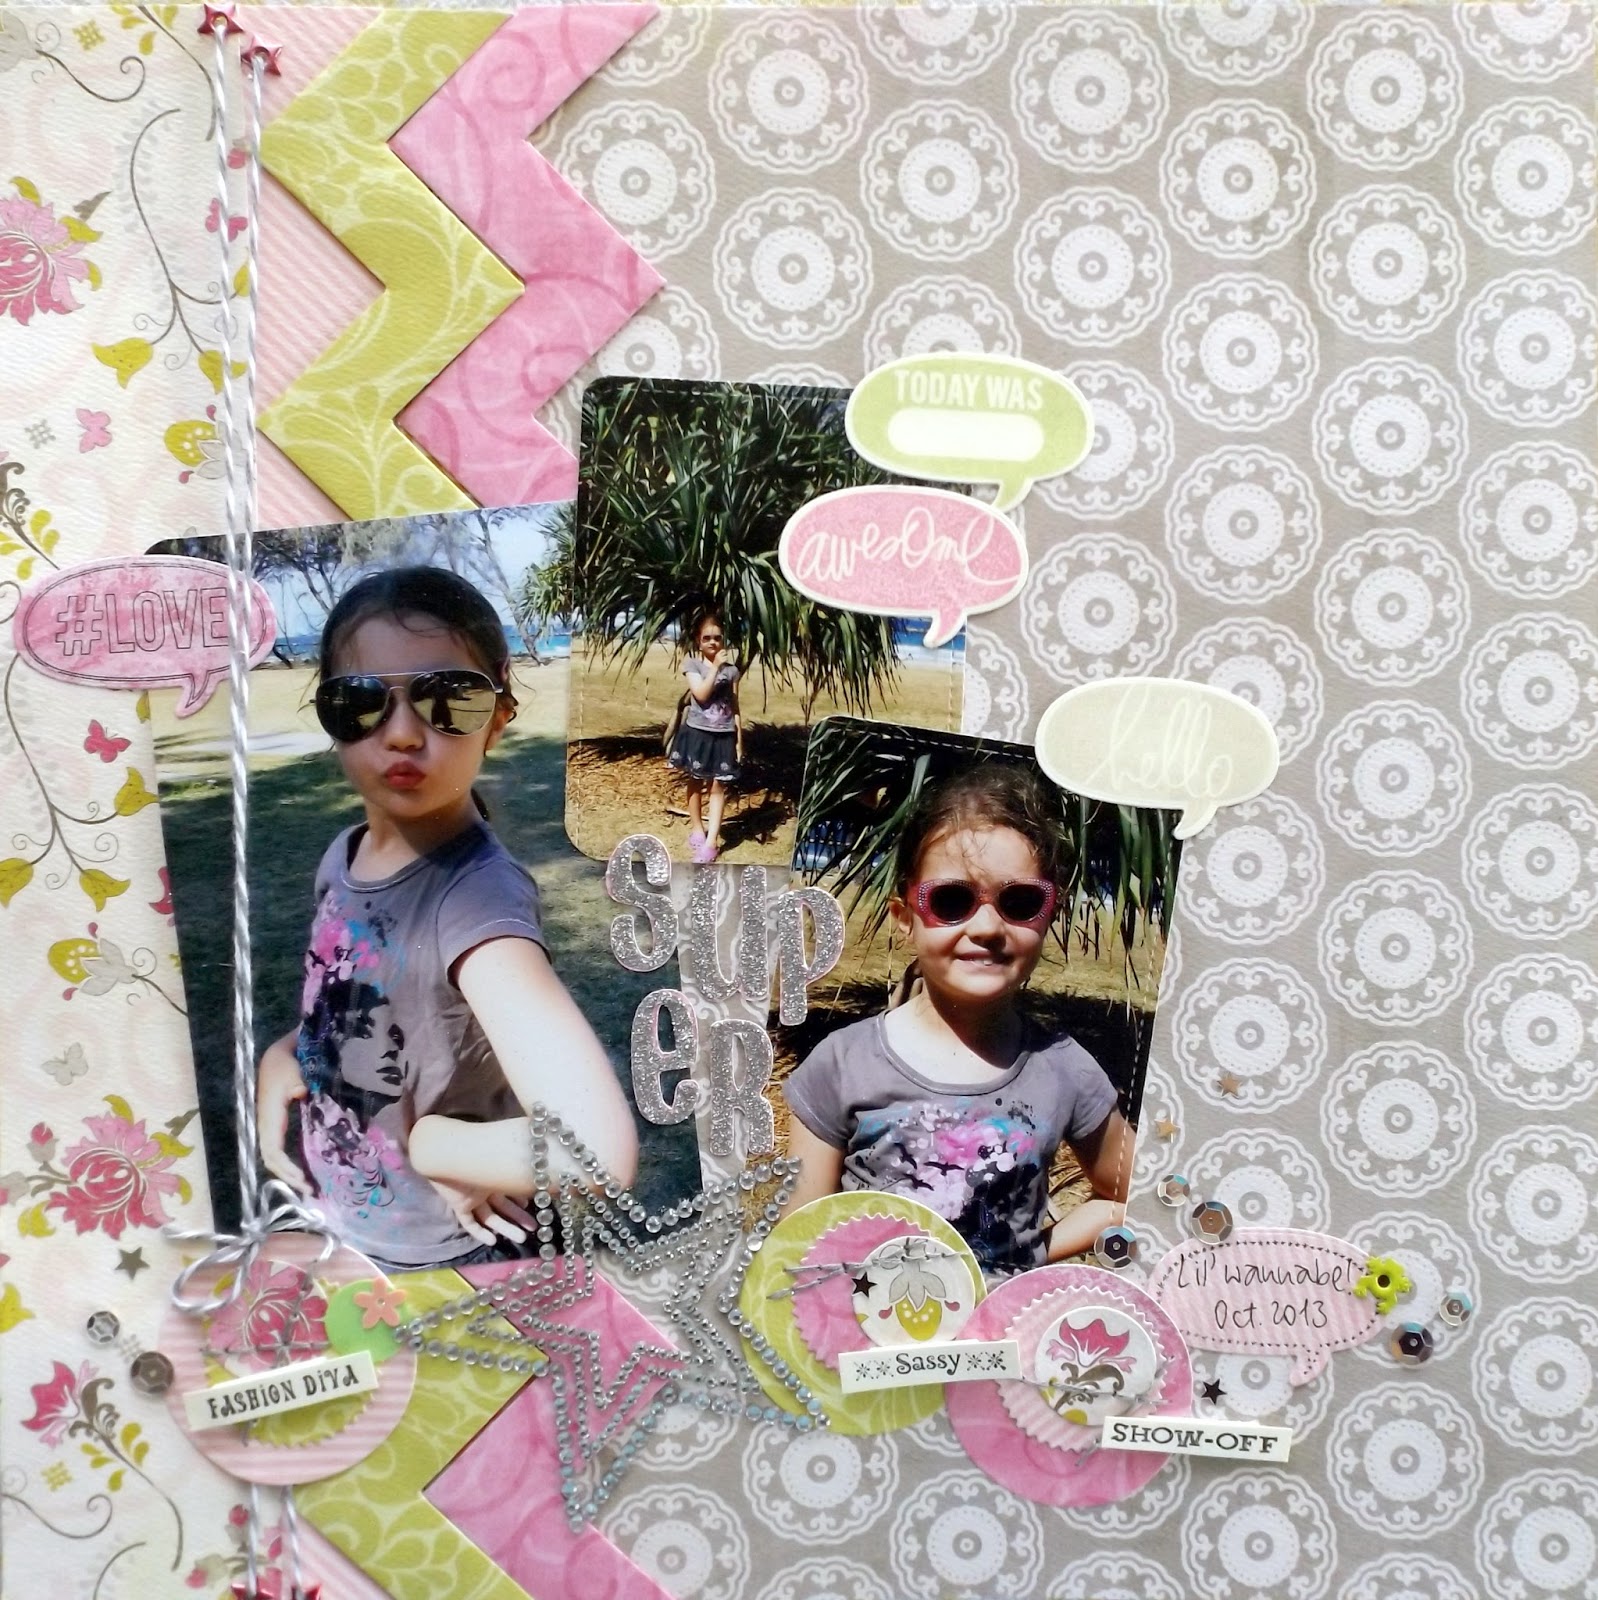
Superstar

Last year we took some silly photos near the beach and it's time to scrap them. 


Someone asked for a class project with speech bubbles and here it is! You can either stamp into your bubbles, like I did, or leave them blank and write your own words. Perfect for some silly shots.


For this page you'll need to think of a title with the word "star" in it! For example: superstar, reach for the stars, gang-star (thanks, Janet)

Rhinestone stars are available in class next week or at my2angels (click here)


 I will show you how to fold chevrons. They look a little more 3D this way and are a great way to use up scraps!
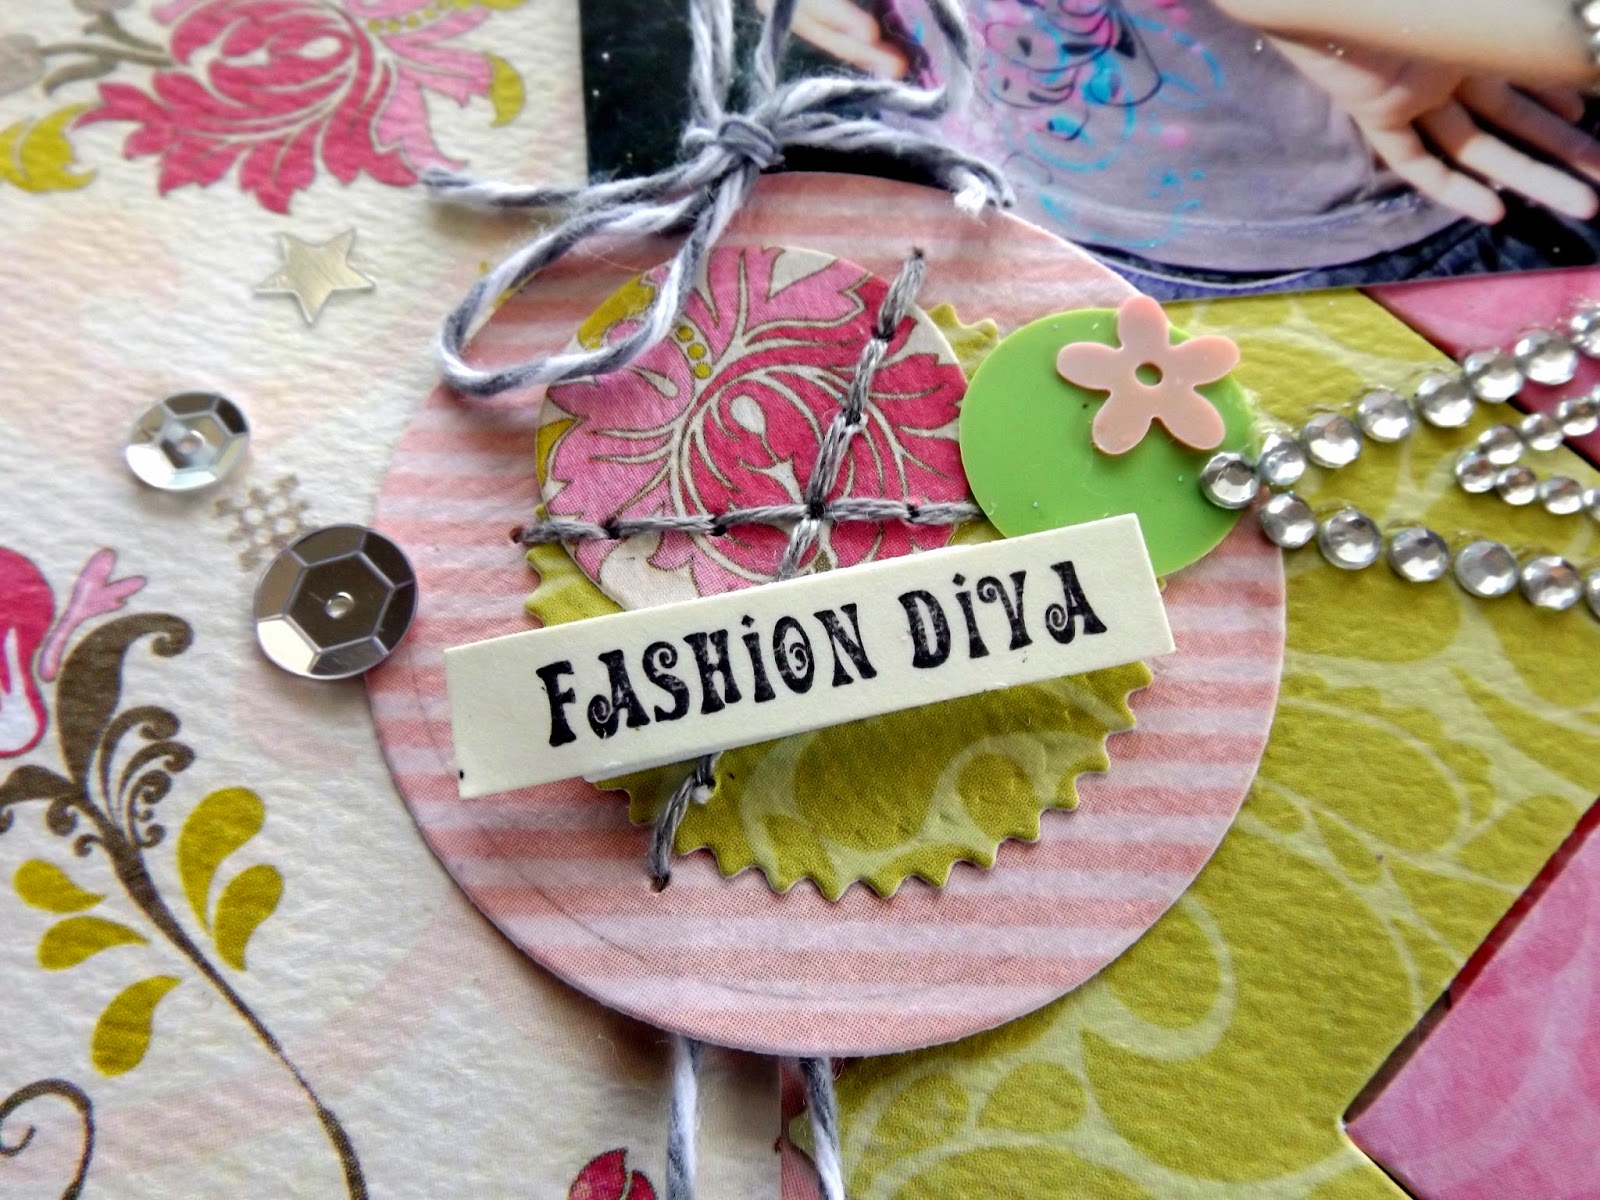
And we make these cute circles. You can choose from a great variety of words:


I'm not sure what came over me, but on the weekend I organised a coffee jar worth of sequins by colour (mad, I know!). Now that they're nice and tidy, we will actually use them:


Not sure about doing girly photos? You don't have to! This page goes well with boys too, just pick "manly" colours and designs.

Wednesday, March 12, 2014

More scrapping in the Limelight

The awesome Limelight collection works really well with the chalkboard look that is so trendy now! Simply pair it with a black background and some white doodles, splashes and journaling for a great effect. 

Kaisercraft Scrapbooking Papers

Use the Damask template and dab a finger/sponge with watermark ink over just one of the designs. Heat emboss it and splash some white mist or watered down gesso over the black cardstock. 
Kaisercraft Scrapbooking Papers

Now embellish with strips of the Today paper...

Kaisercraft Scrapbooking Papers

 ... and a selection of die-cuts from the collectables pack.
Team it with a few green starburst buttons and some silver stars. These are puffy, metallic and oh-so-versatile. If you don't have them in your stash already, then go and get some! I love them. 

Kaisercraft Scrapbooking Papers

You also really need some bike charms! Everyone needs a bike charm...

Kaisercraft Scrapbooking Papers

♥♥♥
I still had a few bits left and made a couple of cards:

Kaisercraft Scrapbooking Papers

 If you like the popular chalkboard look, but don't feel overly confident with chalkboard paint and chalk, don't despair - fake it till you make it!


 Choose one of the many fabulous stencils from the templates, masks and stencils section (mine is the leaves template) and a black card. Tap a white Adirondack paint dabber on your cutting mat to make a little puddle of paint. Pick it up with a finger sponge or cosmetic sponge and dab over the leaf design. Once it's dry, outline it with a white gel pen. 
Kaisercraft Scrapbooking Papers

 After you have attached 2 of the tags from Dawn paper, continue the leaf design onto the tag as well. Add some spots with Liquid Pearls, a green mini gardenia, ribbon and a love key charm. 
Draw some white doodles around the edge of the card and you have faked it like a pro!

♥♥♥
The last few scraps were made into this card ...

 together with a yellow rose, gilded mica fragments ...

Kaisercraft Scrapbooking Papers

...and a heart locket: 
Kaisercraft Scrapbooking Papers

Makes you wanna go fishing. There are some pretty cool fish charms available (click here), but I had used mine all up!

Geli

Tuesday, March 11, 2014

Sunny child

Years ago vellum was all the rage and now it sits in the cupboard, unloved. Or so we thought! In next week's class we're breathing new life into plain vellum to create this pretty page. You choose your own colour scheme of course.


This is what the vellum will look like when we're done and you'll be digging for your old stash in no time. 


Everyone who comes to class will receive the feathers and a frame (different design to choose from).


Wednesday, March 5, 2014

Scrapping in the Limelight

I don't normally go crazy over green, but this new Limelight collection made me change sides. I love it and have used just about every scrap of the papers and collectables I was given. They are perfect for masculine projects. It is now available at my2angels.


For my first layout I cut out the section with botanical drawings from the front of the Arise paper(though they look great, they didn't go with the theme), flipped the paper over and used the back as a centre strip. It's all sticky-taped together on the back. 
The messy background was done with a splat stencil and Distress ink (Black Soot) applied with a blending tool. There is a bit of that in the top left corner too. 

The big splat is the perfect background for a cluster of die cuts from the Limelight collectables. An edge from the Classique frame kit's felt frame grounds it all nicely.


 I made a rough rosette from denim: Simply gather-stitch along one side of a 5cm wide strip of denim, pull the thread and gather-stitch until it forms a circle. Sew the 2 ends together and fray the outer edge.
 

In the middle sits a ric-rac rosette. Take 2 lengths of ric rac ribbon (on sale now) and braid them together. Just pretend you're braiding hair with only 2 bunches of hair. Some people sew them together, but I found the zig-zag patterns makes them stick together all by themselves. Once the whole piece is braided, roll them up and glue as you roll, keeping the circle flat like a disc. It's really easy. The ric-rac comes in 2m lengths and I made 2 large rosettes from that (this one is the smaller of the two).


A few small embellies finish it off: a boy charm (find a similar one here), a few cogs from the gadget gear cogs (these will be a must-have in my stash for a looooong time), a LOL tag and a glass cabochon. 

A vintage button fits in the cog charm perfectly! Actually, it is simply a worn-out button that was just the right shade of green, that's all. But vintage sounds much classier!

See my girly version here that we're doing in class next week!

♥♥♥
The Limelight collection goes well with browns too!


For the next layout I made a grungy background by cutting out some cogs and painting over it with gesso, swiping some distress ink over it, masking, stamping, Inka Golding... I just kept going until it felt grungy enough. 
Unfortunately it was night-time and I didn't take photos of any of this.


 As you can see, the Limelight papers fits that perfectly too! I cut a wavy strip from the Today paper and paired it with the reverse (green) and some old yellow paper to match the lemon theme.
And just in case you're wondering why Joel is happily biting into a lemon, here is the reason:


Click here for more inspiration using the Limelight collection!GELI

Tuesday, March 4, 2014

Keep calm and carry on (licking your ice-cream)

It doesn't take much to make a little child happy and it doesn't take much ice-cream for them to make a huge mess. Anyway, here is my happy-messy layout:


We are making this in class next week and it's so easy to adapt to a boyish look! The only thing that is girly here (apart from the colours) are the little rolled flowers and they are easily swapped for buttons or brads. Think muddy pictures, paintball battles, jelly wrestling...


Here is a matryoshka (also falsly called a babushka doll) 
and there is a stitched feather!


Why, hello happy mess! 


See my boy's version here!