Wednesday, May 29, 2013

My girl

Just a quick and easy page using some Kaisercraft papers and a pretty Crafter's Workshop template (find it here). 


And while I was organising my drawers (this happens sometimes) I came across this cheerleading charm, perfect for my Hannah.


Tuesday, May 21, 2013

Beach boy - going ombre


Have you heard of the ombre effect? You may be forgiven if your first reaction is "huh"? and the second "Don't they know how to spell 'hombre'?" 
It kind of means tone in tone and that's what I tried for this project. The photo isn't the best, it's winter and it gets dark so early, but the colours run from a very light blue to bright medium blue.


I was very much inspired by a layout by Jen Gallacher I saw on Two Peas in a Bucket. 


Great for some stash busting. If you're anything like me you have loads of leftovers in your favourite colour. Blue, in my case. There's lots of little bits and pieces here and there.
Hope you like it!

Tuesday, May 14, 2013

Sandcastle Wars


This is our class project next week: 


I totally love this mask at the moment, we're using it with texture paste and ink sprays. A little messy, but so effective, it's worth it.


Sandcastle Wars 
Episode II 
Attack of the whales

 I'm rather proud of the title...
There really was an army of sand whales.


Thursday, May 9, 2013

Cute Leah

Long time no blogging...
Time to use some of the sweet little embellishments I love to hoard! They get to shine in their own little rectangle. We're making this as a class project next week (May 13-17). 


 All you need is a little stash of odds and ends. Buttons, flowers, charms, brads - anything goes.
The charm I used is a cherry charm from my2angels (find it here) and the acrylic flowers can be found here in different colours.


Tuesday, April 16, 2013

It's a party

Well, it was a party a few years ago...


Yes, it's me and my mum playing party games. 


Do you have a party photo? (who doesn't!) We're doing this fun and funky page in class next week, complete with title and balloons. 


It doesn't have to be pink and girly and it's super adaptable to boys!

Monday, April 15, 2013

Knee monster

How many ripped jeans do your kids have? It started off with a rip in the knee and quickly evolved into a knee monster. Totally approved by Joel.


I found the idea on Pinterest. See the original blog here for step by step pictures. It's in Dutch, but the photos explain it all and you can always hit that magic translate button.

Thursday, April 11, 2013

Daughter

 I created this sweet and soft page using Prima's songbird collection and one of the delightful charming chains from my2angels. 


This particular one is a "daughter" chain in pink, but you can also get them for an aunty, grandmother, nana or twins in several colours. Just imagine making a lovely Mother's Day card for your Nana with one of these. It includes the chain with the tiny roses. 


Do you see the embossed stamping in the background? I used the new texture stamps from Kaisercraft. There are so many nice background designs, good luck choosing one! This one is called "rocks" and I stamped it with Versamark ink and embossed it with Stampendous Aged embossing enamel in copper. Find lots of wonderful colours here.

Rosettes go well with small paper flowers and are a great way to include small leftover strips of paper.


...And here is a very pretty antique bronze peacock. I added a little embossing with Stampendous aged embossing enamel in ivory. This is one of my favourite embossing powders, it has a little glitter and those beautiful chunks of gold mixed in. I made sure that there was one in each feather before heat setting it.


Thursday, April 4, 2013

All New

I've been digging through some old photos. Here is a good one from 1999, when Joel was 1 month old and busy turning our lives upside down. 


We're doing this page in class next week and it's a great excuse to dig through the stash and use up leftover strips of paper. And lots of buttons (happy birthday, Ann-Maree!)


There is an easy way to get the chevron strip look and I'll show you in class (can't give away all my secrets). 


It's hard to capture on camera, but the circle frame has lots of see-through micro beads. Very swish and a cool way to clam up boy's photos.

Saturday, March 30, 2013

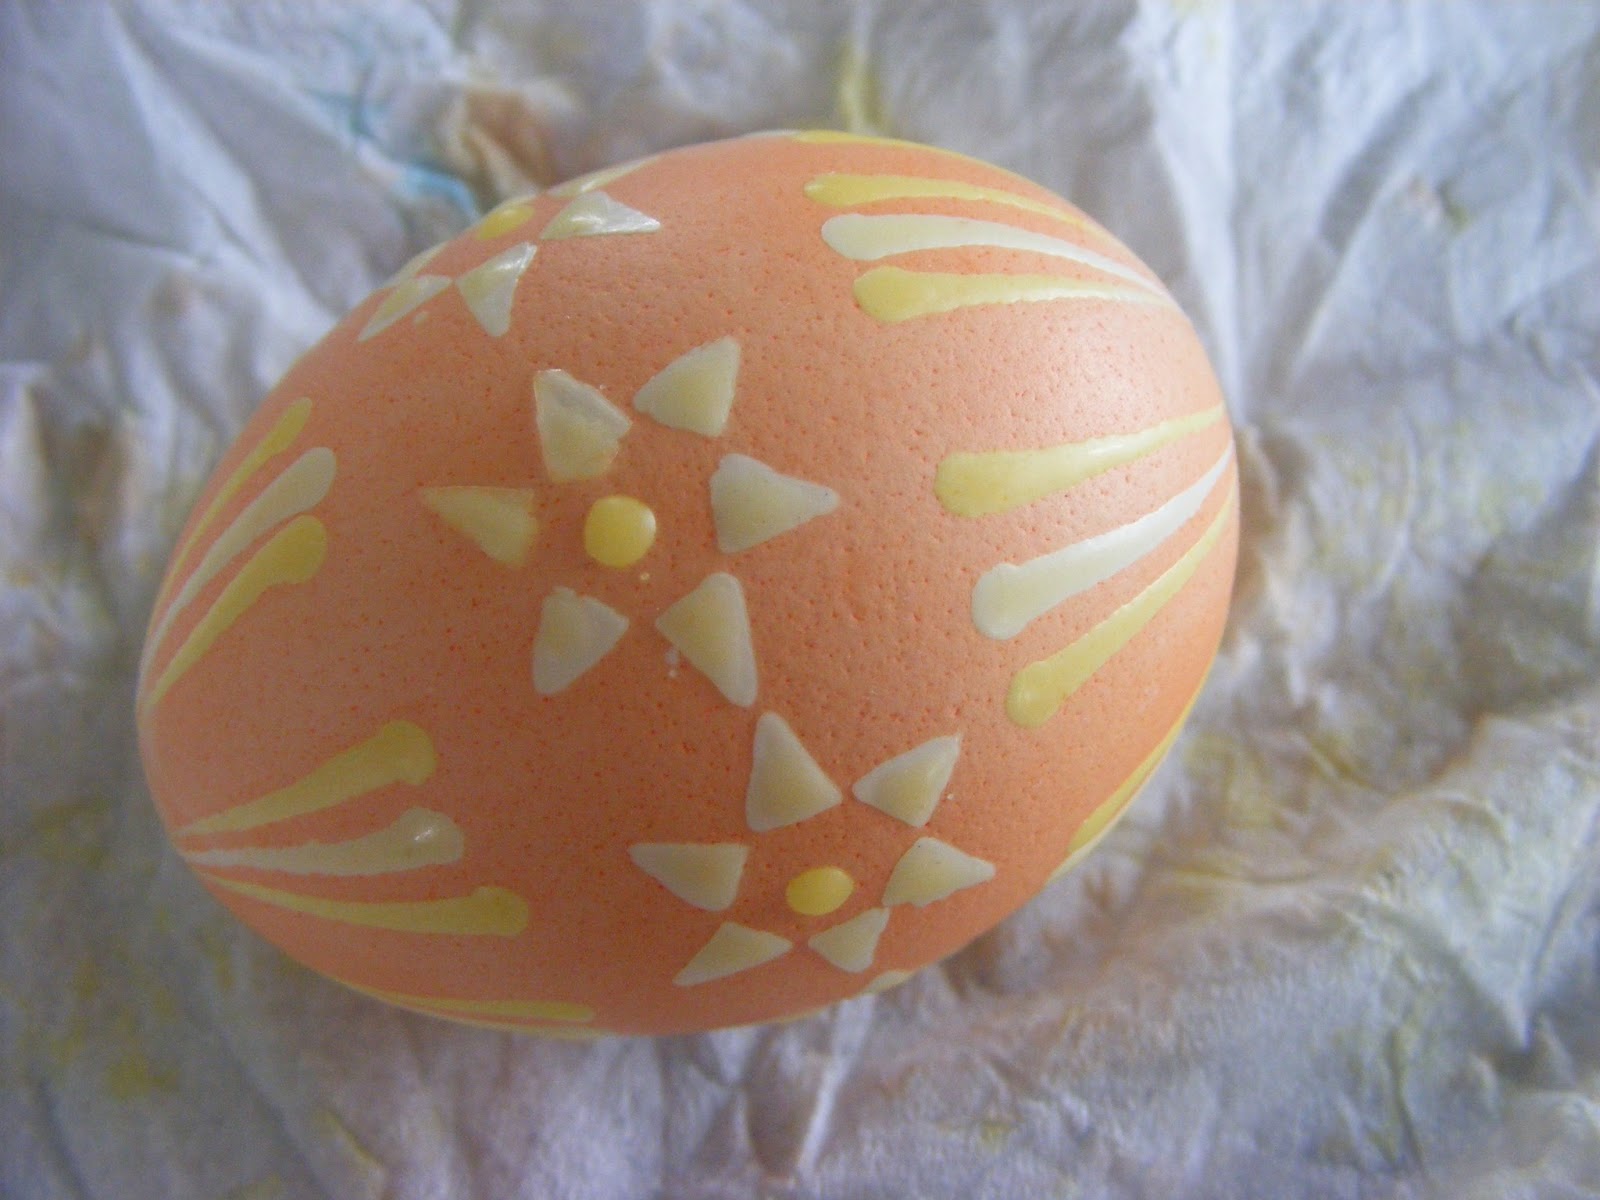
How to make batik Easter eggs

Happy Easter! 

Near where I come from in Saxony (South-East Germany) live the Sorbs (not to be confused with the Serbs), an ethnic minority that has been living in the area of Lusatia since the 6th century. They have their own language and traditions, among them the art of making the most wonderful Easter eggs. You can read more about the Sorbs here. 
While my family is not Sorbian, we have been making those Easter eggs in our family for a long, long time and now I am doing it with my own children on the other side of the world, in Australia. The technique is a simple batik one that children can enjoy as long as you can trust them around an open flame. With supervision, naturally. 
You don't need any fancy equipment. The hardest thing to find in Australia is white eggs. Light brown eggs work  too, but it looks best if you can manage to start with a white egg.

This was me and my 3 kids on Good Friday. Step right in. Excuse the messy kitchen...

Step 1: 
An empty egg. Make a hole, blow the egg out...


...Scrub it gently and dry it. 
Cleaning it  is important or the colours won't stick.

Step 2:
Melt some beeswax in an oil lamp. Real beeswax is by far the best and you can get it from a beekeeper. If that's not possible then get a good quality candle and melt that. Cheap stuff won't work. 

Here are the tools you'll need:


A cork with a pin in it (a glass pin is preferable) and some chicken or goose feathers. Cut the tip of the feather into simply shapes, like triangles and diamonds. Mine get used again and again, so they're looking a bit scruffy.

Step 3:
Once the beeswax is totally melted, dip the pin into the wax, let it heat up and use it straight away to paint on the egg. You can make spots and lines, perfect for flowers. Joel made some Japanese words. Not really the traditional design, but still fun.
Everything you paint now will stay white in the end.

Step 4:
Make some dye. 
I have some real Easter egg dye, but if you don't have that, improvise with a few drops of food dye in a cup of water. Whatever you use, it's important that you add a table spoon of vinegar to fixate the colours. And the water has to be cool by the time you dye the egg or the wax will melt.
I like to use a spoon and a bamboo skewer in the hole to hold the egg under water. Let all the air bubbles come out and it will stay under. The longer the eggs stays in, the deeper the colour gets. Not rocket science, really.

Here is how I made a multi-coloured egg: 
Dip the feather into the wax and press it against the egg. 
You can make lines with the pin like this:


Everything you've just painted will stay white.The finished egg will look best if there is plenty of white, so got to town.
Now dye your egg yellow.
Paint some more designs on the yellow. Those will be yellow in the end. Now dye it orange.
Now paint on the orange. You get the idea. Keep adding as many colours as you'd like, but always paint something first.
 Next I dyed my egg red and then dark pink. You always go from lightest colour to darkest, not the other way around. 
And how do you get the wax off? 

Step 5:
Hold the finished and dried egg close to a flame and let the wax melt, then wipe it off with a tissue. 
Wipe it all over the egg as you go, This gives the egg a nice shine and will protect the dye from fading. You can even hang those eggs outside.
The colours will really shine now and the first layer turns out white. 
Now it looks nice and beautiful.

Step 6:
Cut a match or toothpick in half, tie on some thread and feed it into the hole of the egg:

Now you can hang it up. Done! 

And here is our Easter bouquet:


Thursday, March 28, 2013

little forest fairy

When you have several photos that are very similar and you have already scrapped your favourite photo on one page, what do you do with the others? I had that dilemma. I scrapped the best photo last year, which was published in Australian Scrapbook Ideas. Now I  had no more of that paper, but several more photos. Here's a solution: Use a similar colour scheme and scrap all those leftover photos in a fun pattern of circles. You can use up to 6 photos that way.


Now I have 2 pages that are nothing alike but will sit well together in an album. (I have already given the page on the right to my sister, so I can't take a photo in similar lighting, but you get the idea.) 


We will do the circle layout in class next week, so if you haven't passed out from an Easter chocolate overload, come along!